
计算溶液所需的质量、体积或浓度。
概述
|
产品简介:
内毒素是质粒提取中常见的污染物,由于真核细胞对内毒素非常敏感,因此,如果质 粒中含有内毒素会大大降低真核细胞转染效率。本试剂盒提供一种快速、易大规模质粒制 备的新方法。每次可处理100-300 ml菌液,获得多至2 mg转染级质粒DNA。使用真空装置 可同时纯化多个样本,45分钟即可完成质粒提取,有效减少手动操作时间。特殊的缓冲液 系统和除内毒素过滤器,有效去除内毒素、基因组DNA、RNA、蛋白等杂质。本试剂盒所得 质粒纯度高、提取量大,特别适用于细胞转染,同时也可用于DNA测序,PCR,体外转 录,内切酶消化等实验。
自备试剂:无水乙醇、异丙醇、真空泵、废液收集装置、真空纯化装置。
实验前准备及重要注意事项
1.所有组分可在干燥、室温(15-30℃)环境稳定保存1年,将吸附柱置于2-8℃可保存更 长时间,加入RNase A的Buffer P1 置于2-8℃可稳定保存6个月。 2.Buffer P1 在使用前先加入RNase A(将试剂盒中提供的RNase A 全部加入),混匀, 置于2–8℃保存。使用前需在室温中放置一段时间,恢复至室温后使用。
3.第一次使用前应按照试剂瓶标签的说明在Buffer PW中加入无水乙醇。
4.使用前请先检查Buffer P2 和Buffer E3是否出现结晶或沉淀,如有结晶或沉淀现象, 可在37℃水浴几分钟,即可恢复澄清。
5.注意Buffer P2和Buffer E3含有刺激性物质,请戴手套操作,使用后应立即盖紧盖子。
6.使用Buffer PS处理过的吸附柱最好立即使用,避免放置时间过长影响使用效果。
7.请准备废液收集装置/缓冲瓶CWE100、真空纯化装置CWE200、真空泵CWE300。
操作步骤
1.取100-300 ml过夜培养的菌液,加入离心管(自备)中,12,000×g离心2-3分钟收集细菌, 尽量吸弃全部上清。
2.向留有菌体沉淀的离心管中加入12 ml Buffer P1(请先检查是否已加入RNase A), 使用移液器或涡旋振荡器充分混匀,悬浮细菌沉淀。 注意:如果菌块未彻底混匀,将会影响裂解效果,使提取量和纯度偏低。
3.向离心管中加入12 ml Buffer P2,温和地上下颠倒混匀8-10次,使菌体充分裂解,室 温放置3-5分钟。此时溶液应变得清亮粘稠。
注意:温和混匀,不要剧烈震荡,以免打断基因组DNA,造成提取的质粒中混有基因组DNA片段。如 果溶液未变得清亮,提示可能菌量过大,裂解不彻底,应减少菌体量。
4.向离心管中加入12 ml Buffer E3,立即上下颠倒混匀8-10次,此时出现白色絮状沉 淀,室温放置5分钟。将溶液全部倒入除内毒素过滤器(Endo-Remover FQ)中,慢慢推动推柄(Plungers)过滤,滤液收集在干净的50 ml离心管(Centrifuge Tubes)中。
注意:1)Buffer E3 加入后应立即混匀,避免产生局部沉淀。
2)加入E3后,若出现沉淀过多的情况,可12,000×g离心10分钟后,再将上清溶液倒入除内毒素过滤器中。
5.向滤液中加入0.3倍滤液体积的异丙醇,上下颠倒混匀。
注意:加入异丙醇过多容易导致RNA污染。
6.正确连接负压装置,将连接管(VacConnectors)与DNA吸附柱(DNA-Binding Tubes)连接好后插到负压装置的插口上。 注意:确保连接管和吸附柱连接稳固,防止发生漏气。
7.柱平衡:向DNA吸附柱(DNA-Binding Tubes)中加入2 ml Buffer PS,开启并调节负压至-300~-700 mbar,吸去柱上溶液。

8.将步骤5中滤液与异丙醇的混合溶液转移到平衡好的吸附柱中,吸去柱上溶液。
9.向DNA吸附柱(DNA-Binding Tubes)中加入10 ml Buffer PW(请先检查是否已加入无水乙醇),吸去柱上溶液。
10. 重复步骤9。
11.保持负压抽吸10分钟,除去吸附膜内残留漂洗液,干燥吸附膜。若一次抽吸6个样品以上,可将负压抽吸时间适当延长。待吸附膜彻底干燥后,关闭负压开关 。
注意:1)这一步的目的是将吸附柱中残余的乙醇去除,乙醇的残留会影响后续的酶促反应(酶切、 12.PCR等)。
2)根据吸附膜干燥情况,决定负压装置抽吸时间。如未彻底晾干,也可增加烘干步骤,65℃烘干30 min以彻底晾干吸附膜内残余的溶液。
12.将压力恢复至0 mbar时,取下吸附柱,将DNA吸附柱置于一个新的50 ml离心管(Centrifuge Tubes)中,向吸附膜的中间部位加入1-3 ml Endo-Free Buffer EB, 室温放置2-5分钟,12,000×离心5分钟,将质粒溶液收集到离心管中。-20℃保存质粒。
注意:1)为了增加质粒的回收效率,可将得到的溶液重新加入到DNA吸附柱(DNA-Binding Tubes)中,室温放置2-5分钟, 12,000×g离心5分钟,将质粒溶液收集到离心管中。
2)质粒拷贝数较低或>10 kb时,Endo-Free Buffer EB在65-70℃水浴预热,可以增加提取效率。

|
Product Introduction:
Endotoxins are a common pollutant in plasmid extraction. Due to the high sensitivity of eukaryotic cells to endotoxins, the presence of endotoxins in plasmids can greatly reduce the transfection efficiency of eukaryotic cells. This reagent kit provides a new method for rapid and easy large-scale plasmid preparation. Each time, 100-300 ml of bacterial solution can be processed to obtain up to 2 mg of transfected plasmid DNA. Multiple samples can be purified simultaneously using a vacuum device, and plasmid extraction can be completed in 45 minutes, effectively reducing manual operation time. A special buffer system and endotoxin removal filter effectively remove impurities such as endotoxins, genomic DNA, RNA, proteins, etc. The plasmid obtained from this kit has high purity and extraction capacity, making it particularly suitable for cell transfection. It can also be used for DNA sequencing, PCR, in vitro transcription, endonuclease digestion and other experiments.
Self prepared reagents: anhydrous ethanol, isopropanol, vacuum pump, waste liquid collection device, vacuum purification device.
Preparation and important precautions before the experiment:
1. All components can be stably stored for 1 year in a dry, room temperature (15-30 ℃) environment. The adsorption column can be stored for a longer time at 2-8 ℃.Buffer P1 with RNase A added can be stably stored for 6 months at 2-8 ℃.
2.Before use, add RNase A to Buffer P1 (add all RNase A provided in the reagent kit), mix well, and store at 2-8 ℃. Before use, it is necessary to leave it at room temperature for a period of time, and then use it after returning to room temperature.
3.Before the first use, anhydrous ethanol should be added to the Buffer PW according to the instructions on the reagent bottle label.
4. Before use, please check if there is any crystallization or precipitation in Buffer P2 and Buffer E3. If there is any crystallization or precipitation, you can take a water bath at 37 ℃ for a few minutes to restore clarity.
5. Note that Buffer P2 and Buffer E3 contain irritating substances. Please wear gloves when operating and immediately cover the lid after use.
6. It is best to use the adsorption column treated with Buffer PS immediately to avoid prolonged storage time that may affect its effectiveness.
7. Please prepare the waste liquid collection device/buffer bottle CWE100, vacuum purification device CWE200, and vacuum pump CWE300.
Operation steps:
1. Take 100-300 ml of overnight cultured bacterial solution and add it to a centrifuge tube (provided). Centrifuge at 12000 × g for 2-3 minutes to collect bacteria, and try to discard all the supernatant as much as possible.
2. Add 12 ml of Buffer P1 to the centrifuge tube containing bacterial sediment (please check if RNase A has been added first), mix thoroughly with a pipette or vortex oscillator, and suspend bacterial sediment. Attention: If the bacterial blocks are not thoroughly mixed, it will affect the cracking effect, resulting in low extraction amount and purity.
3. Add 12 ml of Buffer P2 to the centrifuge tube, gently invert and mix 8-10 times, allowing the bacterial cells to fully lyse. Let it stand at room temperature for 3-5 minutes. At this point, the solution should become clear and viscous.
Attention: Mix gently and do not shake vigorously to avoid interrupting genomic DNA and mixing genomic DNA fragments in the extracted plasmid. If the solution does not become clear, it indicates that the bacterial count may be too high and the lysis may not be complete. The bacterial count should be reduced.
4. Add 12 ml of Buffer E3 to the centrifuge tube, immediately invert and mix 8-10 times. At this point, white flocculent precipitates appear, and let it stand at room temperature for 5 minutes. Pour all the solution into the Endo Remove FQ filter, slowly push the plunger to filter, and collect the filtrate in a clean 50 ml centrifuge tube.
Attention: 1) After adding Buffer E3, it should be immediately mixed to avoid local precipitation.
2) After adding E3, if there is excessive precipitation, centrifuge 12000 × g for 10 minutes, and then pour the supernatant solution into the endotoxin removal filter.
5. Add 0.3 times the volume of the filtrate to isopropanol, invert and mix well.
Attention: Adding too much isopropanol can easily lead to RNA contamination.
6. Connect the negative pressure device correctly, connect the VacConnectors to the DNA binding tubes, and then insert them into the socket of the negative pressure device. Attention: Ensure that the connection between the connecting pipe and the adsorption column is stable to prevent air leakage.
7. Column equilibrium: Add 2 ml of Buffer PS to the DNA Binding Tubes, turn on and adjust the negative pressure to -300~-700 mbar, and remove the solution from the column.
8. Transfer the mixed solution of filtrate and isopropanol from step 5 to an equilibrium adsorption column and remove the solution on the column.
9. Add 10 ml of Buffer PW to the DNA Binding Tubes (please check if anhydrous ethanol has been added first) and remove the solution from the column.
10. Repeat step 9.
11. Maintain negative pressure suction for 10 minutes to remove residual rinsing solution from the adsorption membrane and dry the adsorption membrane. If more than 6 samples are drawn at once, the negative pressure suction time can be appropriately extended. After the adsorption film is completely dried, turn off the negative pressure switch.
Note: 1) The purpose of this step is to remove residual ethanol from the adsorption column, which can affect subsequent enzymatic reactions (such as enzyme digestion, 12. PCR, etc.).
2) Determine the suction time of the negative pressure device based on the drying condition of the adsorption film. If it is not completely dried, an additional drying step can be added, drying at 65 ℃ for 30 minutes to completely dry the residual solution inside the adsorption film.
12. When the pressure is restored to 0 mbar, remove the adsorption column and place the DNA adsorption column in a new 50 ml Centrifuge Tube. Add 1-3 ml Endo Free Buffer EB to the middle of the adsorption membrane and let it stand at room temperature for 2-5 minutes. Centrifuge at 12000 x for 5 minutes and collect the plasmid solution into the centrifuge tube- Store the plasmid at 20 ℃.
Note: 1) In order to increase the recovery efficiency of plasmids, the obtained solution can be re added to DNA Binding Tubes, left at room temperature for 2-5 minutes, and centrifuged at 12000 × g for 5 minutes. Collect the plasmid solution into a centrifuge tube.
2) When the plasmid copy number is low or>10 kb, preheating the Endo Free Buffer EB in a water bath at 65-70 ℃ can increase the extraction efficiency.

规格
英文名称
GoldVac EndoFree Plasmid Maxi Kit
储存与运输
储存条件
室温
运输条件
常规运输
高级数据
质检证书(CoA,COO,BSE/TSE 和分析图谱)
C of A & Other Certificates(BSE/TSE, COO):
输入批号以搜索分析图谱:
技术文档和文章
溶液计算器
常见问题
本产品应如何储存?
请于室温条件下保存。
本产品如何运输?
本产品按常温标准条件运输,无需温控包装。
如何获取批次专用COA?
每个订单都会随附分析证书(COA),您也可以从账户订单历史中下载。如需订购前的COA,请联系您的客户代表,或使用PDP上的"申请COA"按钮——我们将提供代表性批次的COA。
试剂盒包含哪些组分?
完整组分列表见PDP和试剂盒说明书。个别组分的替换品可单独订购——请联系您的客户代表。
产品仅提供给经过验证的企业、机构和合格的专业人员用于研发。不适用于人类、动物、诊断或治疗。
Copyright © 2023至今 上海阿拉丁生化科技股份有限公司 SSE:688179 保留所有权利。


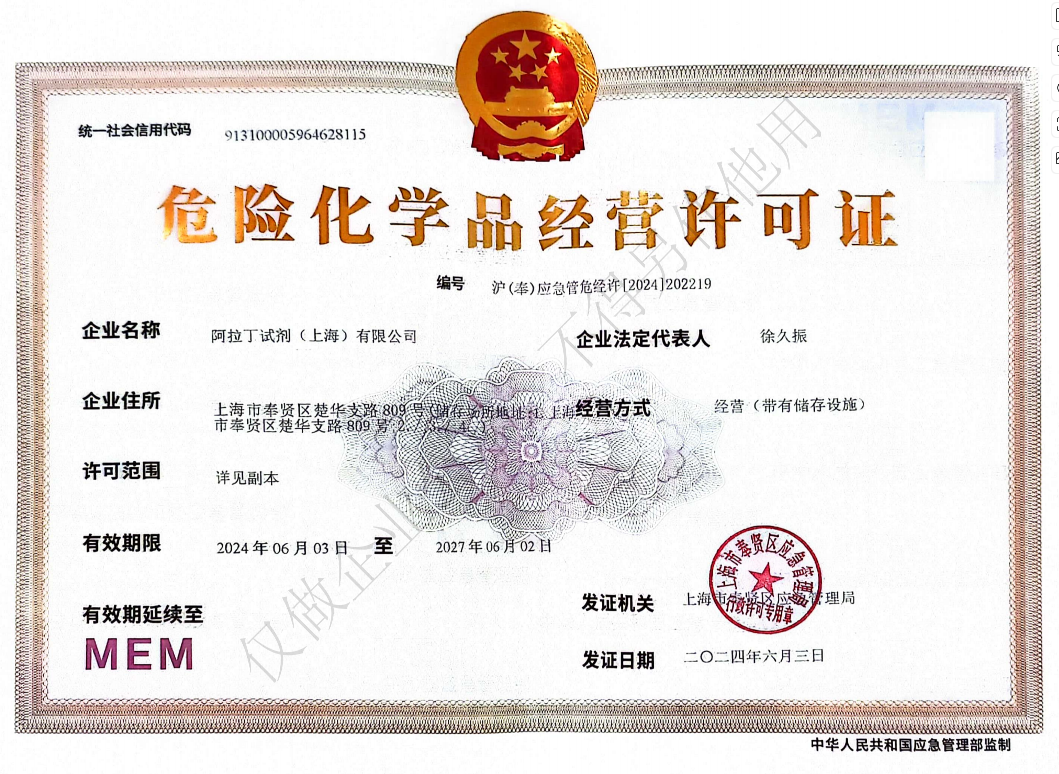 危险品化学品经营许可证(带存储)