

计算溶液所需的质量、体积或浓度。
为什么选择此级别
,适用于对基线干扰要求严格的色谱和分析工作流程。
储存与运输
室温。常规运输 。请查阅批次 COA 获取详细规格。
质量文档
SDS、COA、产品数据表及规格说明书均可下载。可通过批号查询获取批次 COA。
文献证明
在色谱分析、有机合成和交叉偶联反应领域已被 0 篇同行评审文献引用。
概述
产品内容
|
产品简介
本试剂盒适用于从全血、组织匀浆液、拭子,以及血清、血浆等无细胞体液中, 简单、快速、高效地分离并纯化DNA/RNA。独特的缓冲体系使裂解液中的病毒核酸高 效特异地结合在磁珠上,获得的病毒核酸纯度高,质量稳定,不含蛋白、核酸酶和其 他杂质,可适用于各种常规操作,包括PCR、荧光定量PCR等实验。
自备仪器及试剂
1. 手动单管提取:
1)恒温混匀仪
2)2/15 mL磁力架
2. 与全自动核酸提取仪的匹配:
1)全自动核酸提取仪
2)96孔深孔板、 8联深孔磁套
3. 与全自动核酸提取仪的匹配:
1)全自动核酸提取仪
2)96孔深孔板, 96深孔板磁套
实验前准备及重要注意事项
1. 在实验前,应仔细阅读本说明书。
2. 第一次使用前向25mg Proteinase K中加入1.25mLProteinase K Storage Buffer使其溶解,室 温保存。若需长期保存,请放置于-20℃。
3. 使用前请检查Buffer LB是否出现结晶或者沉淀,如有结晶或者沉淀,请将Buffer LB置于56℃ 水浴重新溶解。
操作步骤
1. 手动单管操作
1.1 样本裂解:
取1.5mL离心管(自备),加入20μL蛋白酶K(可选), 200 μL样本(样本需平衡至室温), 500 μLBuffer LB,涡旋震荡5秒后,置于80℃, 1200 rpm的恒温混匀仪上震荡混匀4min。
注:湿拭子样本,充分震荡混匀后取200 μL进行提取。干拭子样本浸泡于400μL生理盐水中,充分震荡混 匀后静置5min,12000rpm离心1min后,取200 μL进行提取。
1.2 核酸吸附:
(1)向离心管中加入10μL Magbeads PN,涡旋震荡10s,置于室温, 1200rpm的恒温混匀 仪上震荡混匀4min。
(2)将离心管置于磁力架,磁珠完全吸附后,小心吸弃所有液体。
1.3 样本漂洗1:
(1)向离心管中加入500μL Buffer WB1,涡旋震荡,置于室温, 1200rpm的恒温混匀仪上震 荡混匀2min。
(2)将离心管置于磁力架,磁珠完全吸附后,小心吸弃所有液体。
1.4 样本漂洗2:
(1)向离心管中加入500μL Buffer WB2,涡旋震荡,置于室温, 1200rpm的恒温混匀仪上震 荡混匀2min。
(2)将离心管置于磁力架,磁珠完全吸附后,小心吸弃所有液体。
1.5 核酸洗脱:
(1)晾干离心管2-5min,确保无乙醇残留。
(2)向离心管中加入100μL RNase-Free water,涡旋震荡, 56℃, 1200rpm的恒温混匀仪上 震荡混匀5min。
(3) 离心管置于磁力架上,磁珠吸附后, 收集核酸溶液于新离心管中,置于-80℃长期保 存。
2. 与仪器1的匹配
2.1 按照下表向96孔深孔板中加入相应试剂(样本需平衡至室温):
2.2 将加样板放入仪器,按照下表编辑并运行提取程序:
|
|
2.3 程序运行结束后,取出96深孔板,将第6、12列中的洗脱液转移至新离心管中, -80℃长 期保存。
3. 与仪器2的匹配
3.1 按照下表向96孔深孔板中加入相应试剂(样本需平衡至室温):
3.2 将加样板放入CWE9600仪器,按照下表编辑并运行提取程序:
|
|
|
3.3 程序运行结束后,取出96深孔板,将洗脱液转移至新离心管中, -80℃长期保存。
4. 与仪器3的匹配
4.1 按照下表向96孔深孔板中加入相应试剂(样本需平衡至室温):
|
4.2 将加样板放入仪器3,按照下表编辑并运行提取程序:
|
4.3 程序运行结束后,取出96深孔板,将洗脱液转移至新离心管中, -80℃长期保存。
Product content
|
Product Introduction
This reagent kit is suitable for simple, rapid, and efficient separation and purification of DNA/RNA from whole blood, tissue homogenate, swabs, serum, plasma, and other cell-free body fluids. The unique buffer system enables the viral nucleic acid in the lysis solution to efficiently and specifically bind to magnetic beads, resulting in high purity and stable quality of viral nucleic acid. It does not contain proteins, nucleases, or other impurities and can be used for various routine operations, including PCR, fluorescence quantitative PCR, and other experiments.
Self provided instruments and reagents
1. Manual single tube extraction:
1) Constant temperature mixer
2) 2/15 mL magnetic rack
2. Matching with fully automatic nucleic acid extractor:
1) Fully automatic nucleic acid extractor
2) 96 hole deep hole plate, 8-pin deep hole magnetic sleeve
3. Matching with fully automatic nucleic acid extractor:
1) Fully automatic nucleic acid extractor
2) 96 hole deep hole plate, 96 deep hole plate magnetic sleeve
Preparation and important precautions before the experiment
1.Before the experiment, carefully read this manual.
2. Add 1.25mL Protein K Storage Buffer to 25mg Protein K before the first use to dissolve it, and store at room temperature. If long-term storage is required, please place it at -20 ℃.
3. Before use, please check if there is any crystallization or precipitation in the Buffer LB. If there is any crystallization or precipitation, please dissolve the Buffer LB again in a 56 ℃ water bath.
Operation steps
1. Manual single tube operation
1.1 Sample lysis:
Take 1.5mL centrifuge tube (self prepared) and add 20 μ L protease K (optional), 200 μ L sample (sample needs to be balanced to room temperature), 500 μ LBuffer LB, after vortex oscillation for 5 seconds, place it on a constant temperature mixer at 80 ℃ and 1200 rpm to shake and mix for 4 minutes.
Note: For wet swab samples, shake thoroughly and mix well before taking 200 samples μ L for extraction. Soak the dry swab sample in 400 μ In L physiological saline, thoroughly shake and mix, let stand for 5 minutes, centrifuge at 12000 rpm for 1 minute, and then take 200 μ L for extraction.
1.2 Nucleic acid adsorption:
(1) Add 10 to the centrifuge tube μ L Magheads PN, vortex oscillate for 10 seconds, place at room temperature, on a constant temperature mixer at 1200rpm, shake and mix for 4 minutes.
(2) Place the centrifuge tube on a magnetic frame, fully adsorb the magnetic beads, and carefully discard all liquids.
1.3 Sample rinsing 1:
(1) Add 500 to the centrifuge tube μ L Buffer WB1, vortex shake, place at room temperature, on a constant temperature mixer at 1200rpm, shake and mix for 2 minutes.
(2) Place the centrifuge tube on a magnetic frame, fully adsorb the magnetic beads, and carefully discard all liquids.
1.4 Sample rinsing 2:
(1) Add 500 to the centrifuge tube μ L Buffer WB2, vortex shake, place at room temperature, on a constant temperature mixer at 1200rpm, shake and mix for 2 minutes.
(2) Place the centrifuge tube on a magnetic frame, fully adsorb the magnetic beads, and carefully discard all liquids.
1.5 Nucleic acid elution:
(1) Dry the centrifuge tube for 2-5 minutes to ensure no ethanol residue.
(2) Add 100 to the centrifuge tube μ L RNase Free water, vortex oscillation, shake and mix on a constant temperature mixer at 56 ℃ and 1200rpm for 5 minutes.
(3) The centrifuge tube is placed on a magnetic frame, and after the magnetic beads are adsorbed, the nucleic acid solution is collected in a new centrifuge tube and stored at -80 ℃ for a long time.
2. Matching with instruments
2.1 Add the corresponding reagents to the 96 well deep well plate according to the table below (the sample needs to be balanced to room temperature):
2.2 Place the sample plate into the instrument, edit and run the extraction program according to the following table:
|
|
2.3 After the program runs, remove the 96 well plate and transfer the eluent from columns 6 and 12 to a new centrifuge tube for long-term storage at -80 ℃.
3. Matching with Instrument 2
3.1 Add the corresponding reagents to the 96 well deep well plate according to the table below (the sample needs to be balanced to room temperature):
3.2 Place the sample plate into the CWE9600 instrument, edit and run the extraction program according to the following table:
|
|
|
After the program runs, remove the 96 well plate and transfer the eluent to a new centrifuge tube for long-term storage at -80 ℃.
4. Matching with Instrument 3
4.1 Add the corresponding reagents to the 96 well deep well plate according to the table below (the sample needs to be balanced to room temperature):
|
4.2 Place the sample plate into instrument 3, edit and run the extraction program according to the following table:
|
After the program runs, remove the 96 well plate and transfer the eluent to a new centrifuge tube for long-term storage at -80 ℃.
规格
英文名称
Magbead Viral DNA/RNA Kit
储存与运输
储存条件
室温
运输条件
常规运输
技术文档
高级数据
质检证书(CoA,COO,BSE/TSE 和分析图谱)
C of A & Other Certificates(BSE/TSE, COO):
输入批号以搜索分析图谱:
溶液计算器
产品仅提供给经过验证的企业、机构和合格的专业人员用于研发。不适用于人类、动物、诊断或治疗。
Copyright © 2023至今 上海阿拉丁生化科技股份有限公司 保留所有权利。


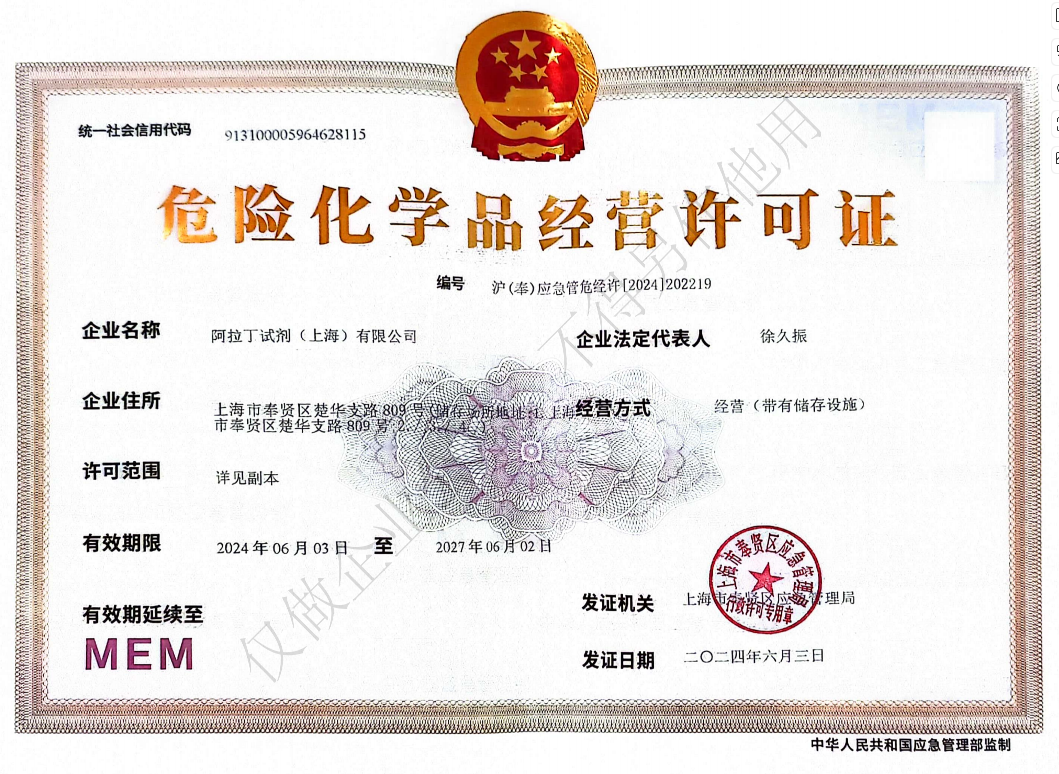 危险品化学品经营许可证(带存储)