
计算溶液所需的质量、体积或浓度。
ROS活性氧检测试剂盒 (红色荧光)
有货
BioReagent,生物染色剂,用于显微镜 级 ,适用于对基线干扰要求严格的色谱和分析工作流程。
避光,-20°C储存。超低温运输 。请查阅批次 COA 获取详细规格。
SDS、COA、产品数据表及规格说明书均可下载。可通过批号查询获取批次 COA。
在色谱分析、有机合成和交叉偶联反应领域已被 0 篇同行评审文献引用。
活性氧 (Reactive oxygen species, ROS)包括超氧⾃由基、过氧化氢、及其下游产物过氧化物和羟化物等,参与细胞⽣⻓增殖、发育分化、衰⽼和凋亡以及许多⽣理和病理过程。活性氧检测试剂盒 (ROS Assay Kit)是⼀种利⽤荧光探针进⾏活性氧检测的试剂盒。本试剂盒利⽤红⾊荧光探针检测各种动物和植物样本的活性氧。红⾊荧光的活性氧探针的最⼤激发/发射波⻓510/610 nm。
检测荧光就可以知道细胞内活性氧的⽔平。根据活细胞中荧光的产⽣,可以判断细胞活性氧的含量和变化。⽤流式细胞仪或荧光显微镜可直接观察,是⼀种经典的组织或活细胞中活性氧检测⽅法。本试剂盒提供了活性氧阳性对照试剂Rosup,以便于活性氧的检测。Rosup是⼀种混合物,浓度为50 mg/mL。Rosup为活性氧阳性诱导药物,根据其荧光信号强度,可分析活性氧的真正⽔平。
本试剂盒只可以⽤于细胞和新鲜组织样本的活性氧检测,不可以⽤于冻存的组织样本的活性氧检测。本试剂盒本底低,灵敏度⾼,线性范围宽,使⽤⽅便。
注意事项:
1. 探针装载后,⼀定要洗净残余的未进⼊细胞内的探针,否则会导致背景较⾼。
2. 阳性对照Rosup⼀般使⽤浓度为100 μM (推荐浓度100-400 μM,具体依细胞类型⽽定)。通常刺激后0.5-4h可观察到显著的活性氧⽔平升⾼。对于不同的细胞,活性氧阳性对照的效果可能有较⼤的差别。如果在刺激后30 min内观察不到活性氧的升⾼,可延⻓诱导时间或适当提⾼活性氧阳性对照的浓度。如果活性氧升⾼得过快,可缩短诱导时间或适当降低活性氧阳性对照的浓度。
3. 对于某些特别的细胞,实验过程中如果发现没有刺激的阴性对照细胞荧光也⽐较强, 可以按照1: 2000-1: 5000稀释探针的终浓度为2-5 μM。探针装载的时间也可以根据情况在15-60 min 内适当进⾏调整。
4. 活性氧阳性对照Rosup仅仅⽤于作为阳性对照的样品,并不是在每个样品中都需加⼊活性氧阳性对照。
5. 探针装载完毕并洗净残余探针后,可以进⾏激发波⻓的扫描和发射波⻓的扫描,以确认探针的装载情况是否良好。
6. 尽量缩短探针装载后到测定所⽤的时间 (刺激时间除外),以减少各种可能的误差。
7. 为了您的安全和健康,请穿实验服并戴⼀次性⼿套操作。
8. 定量的话要作标准曲线。先做⼀个不同浓度H₂O₂氧化荧光值,做⼀条标准曲线,X轴为H₂O₂浓度,y轴是荧光值,得出⼀个⽅程,在看你样品的荧光值即Y值是多少,对应的X值就是。
9. 有的细胞装载探针后细胞容易漂起来,洗细胞时实验组会吸⾛⼀部分细胞。所以种细胞时细胞量增加⼀倍,这样细胞紧密连接,贴壁⽐较牢,实验组的荧光值就⾼了。另外的探针很敏感,⼯作液浓度要低⼀些,1-2 μM就够了,浓度太⾼容易有⾮特异性染⾊。这个探针很不稳定,⼀旦氧化了本底荧光值就会升⾼,最好⼯作液现⽤现配。
10. 染⾊液为DMSO溶液,⽓温较低时为凝固状态,极易粘附在管壁、吸头壁。注意需要充分融解后使⽤,变成液体状态后离⼼⾄管底部再开盖。
自备器材及试剂:
激光共聚焦显微镜或荧光分光光度计或荧光酶标仪激发波⻓ (488~535 nm,发射波⻓610 nm)。
离⼼机
移液器
PBS缓冲液/HBSS (不含酚红)
蛋⽩定量试剂盒
使用说明:
1. 样本处理:
(1) 刚取得的新鲜组织样本⽤PBS洗净。
(2) 准确称取50 mg组织,加⼊1 mL匀浆缓冲液A,⽤玻璃匀浆器充分匀浆。
(3) 在100×g,4℃离⼼3分钟,弃沉淀,取上清。
2. 样本检测:
(1) 在96孔板中加⼊200 μL匀浆上清液、2 μL DHE探针,⽤移液器吹打,使之充分混匀。
(2) 在37℃避光孵育30分钟。
(3) 置于荧光酶标仪中,后于激发波⻓为488~535 nm、发射波⻓610 nm检测荧光强度。
3. 蛋白定量:
(1) 另取50 μL上清匀浆液,⽤PBS⼤约稀释30倍。
(2) 取100 μL进⾏蛋⽩定量。
4. 结果处理:
以荧光强度/毫克蛋⽩表示组织活性氧强度。
Reactive oxygen species (ROS) include superoxide anion, hydrogen peroxide, and their downstream products such as peroxides and hydroxyl derivatives. ROS are involved in cell growth and proliferation, development and differentiation, senescence and apoptosis, as well as many physiological and pathological processes. The ROS Assay Kit is designed for ROS detection using a fluorescent probe. This kit employs a red fluorescent probe to detect ROS in various animal and plant samples. The maximum excitation/emission wavelengths of the red fluorescent ROS probe are 510/610 nm.
Intracellular ROS levels can be determined by detecting the fluorescence intensity. ROS content and changes in living cells can be evaluated based on fluorescence generation, which can be directly observed by flow cytometry or fluorescence microscopy. This is a classic method for ROS detection in tissues or living cells.The kit provides Rosup, a positive control reagent for ROS detection. Rosup is a mixture at a concentration of 50 mg/mL. As a positive inducer of ROS, it allows accurate analysis of actual ROS levels according to fluorescence signal intensity.
This kit is only suitable for ROS detection in cells and fresh tissue samples, and cannot be used for frozen tissue samples. It features low background, high sensitivity, wide linear range and ease of use.
Precautions
1. After probe loading, residual unincorporated probe must be thoroughly washed away, otherwise high background will occur.
2. The typical working concentration of positive control Rosup is 100 μM (recommended range: 100–400 μM, depending on cell type). A significant increase in ROS levels can usually be observed 0.5–4 h after stimulation. The effect of the ROS positive control may vary considerably among different cell lines. If no ROS elevation is observed within 30 min of stimulation, extend the induction time or increase the Rosup concentration appropriately. If ROS increases too rapidly, shorten the induction time or reduce the concentration accordingly.
3. For some specific cell types, if high fluorescence is also observed in unstimulated negative control cells, dilute the probe at 1:2000 to 1:5000 to a final concentration of 2–5 μM. Probe loading time can also be adjusted from 15 to 60 min as needed.
4. The ROS positive control (Rosup) is only used for positive control samples and does not need to be added to every test sample.
5. After probe loading and washing away residual probe, excitation and emission scanning can be performed to verify proper probe loading.
6. Minimize the interval between probe loading and measurement (excluding stimulation time) to reduce potential errors.
7. For your safety and health, please wear a lab coat and disposable gloves during operation.
8. For quantitative analysis, a standard curve must be established. Measure fluorescence values oxidized by different concentrations of H₂O₂ to plot a standard curve with H₂O₂ concentration as the X-axis and fluorescence intensity as the Y-axis to obtain a regression equation. The corresponding X value from the sample fluorescence (Y value) is the ROS concentration.
9. Some cells tend to detach after probe loading, leading to cell loss during washing. To avoid this, seed cells at double the usual density so that cells form tight junctions and adhere firmly, resulting in higher fluorescence intensity in test groups. In addition, this probe is highly sensitive; a lower working concentration (1–2 μM) is sufficient. Higher concentrations may cause non-specific staining. The probe is unstable and its background fluorescence increases once oxidized, so the working solution should be prepared fresh immediately before use.
10. The staining solution is supplied in DMSO. It may solidify at low temperatures and adhere to tube or pipette tip walls. Ensure it is fully thawed to liquid form, centrifuged to the bottom of the tube, then opened before use.
Self-provided equipment and reagents:
Confocal laser scanning microscope, fluorescence spectrophotometer or fluorescence microplate reader (excitation: 488–535 nm, emission: 610 nm)
Centrifuge
pipettes
PBS buffer/HBSS (phenol red-free)
Protein quantification assay kit
Protocol
1. Sample Preparation
(1) Wash freshly isolated tissue samples with PBS.
(2) Accurately weigh 50 mg of tissue, add 1 mL of Homogenization Buffer A, and homogenize thoroughly using a glass homogenizer.
(3) Centrifuge at 100×g for 3 min at 4℃. Discard the pellet and collect the supernatant.
2. Sample Assay
(1) Add 200 μL of tissue homogenate supernatant and 2 μL of DHE probe to each well of a 96-well plate. Mix well by pipetting.
(2) Incubate at 37℃ for 30 min in the dark.
(3) Measure fluorescence intensity using a fluorescence microplate reader at excitation wavelength 488–535 nm and emission wavelength 610 nm.
3. Protein Quantification
(1) Take another 50 μL of homogenate supernatant and dilute approximately 30-fold with PBS.
(2) Transfer 100 μL for protein quantification.
4. Data Analysis
Express tissue ROS levels as fluorescence intensity per milligram of protein.
| 项目号 | 物理外观 | 组件 | 200 T | Storage |
| R1520936A | 液体 | 缓冲液A | 200 mL | -20℃. |
| R1520936B | 液体 | 红⾊荧光染料 (5mM) | 2×0.2 mL | -20℃. Store in the dark. |
| R1520936C | 液体 | Rosup阳性对照 | 2×1 mL | -20℃. |
通过匹配包装上的批号来查找并下载产品的 COA,每批产品都进行了严格的验证,您可放心使用!
| 批号(Lot Number) | 证书类型 | 货号 |
|---|---|---|
 ZJ26F0535402 |
分析证书 | R1520936 |
我们的级别选择指南涵盖了目录中所有的变体的纯度、稳定剂状态和应用适用性。
查看 BioReagent 级别指南 → 查看 Biological Stain 级别指南 → 查看 for Microscopy 级别指南 →

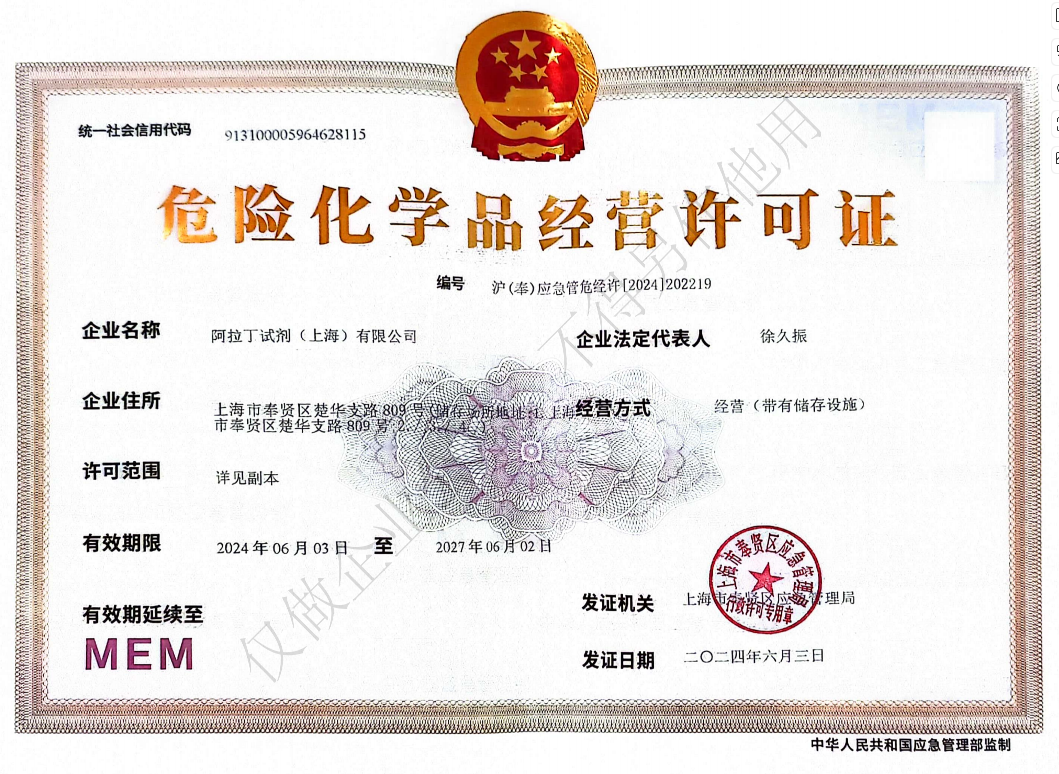 危险品化学品经营许可证(带存储)